How Do You Layer Lighting in a Kitchen?
Discover how to layer lighting in a kitchen using ambient, task and accent lighting. Explore practical design tips to create a functional, welcoming and stylish space.
By Ruth McKenna


Discover how to layer lighting in a kitchen using ambient, task and accent lighting. Explore practical design tips to create a functional, welcoming and stylish space.
Great kitchen lighting is built from three layers – ambient, task and accent – and thoughtful
kitchen design plans all three from the start. Together, they make the room safe to work in and welcoming to live in.
The kitchen has become the busiest room in the home, used for cooking, homework, home working and evenings with friends gathered around the island. A single ceiling fitting simply cannot serve all of those roles well.
Layered lighting solves this by combining ambient, task, accent and decorative light, each with its own job, so the same room works for chopping at six and relaxing at ten.
The principles hold for a family kitchen with an island, a compact city galley or an open-plan kitchen and dining room; only the scale changes.
This guide shows how to plan each layer and avoid mistakes that flatten a room.
Every successful kitchen lighting scheme is built around ambient, task and accent light, sometimes summarised as light for moving, doing and feeling.
The base layer that lets you move around safely, from recessed downlights, a flush ceiling fixture or a pendant with wall lights.
Focused light over work areas: under-cabinet LEDs, island pendants and directional fittings over the sink or hob.
The layer that creates depth and mood, from shelf strips and picture lights to toe-kicks and glass-fronted cabinet lighting.
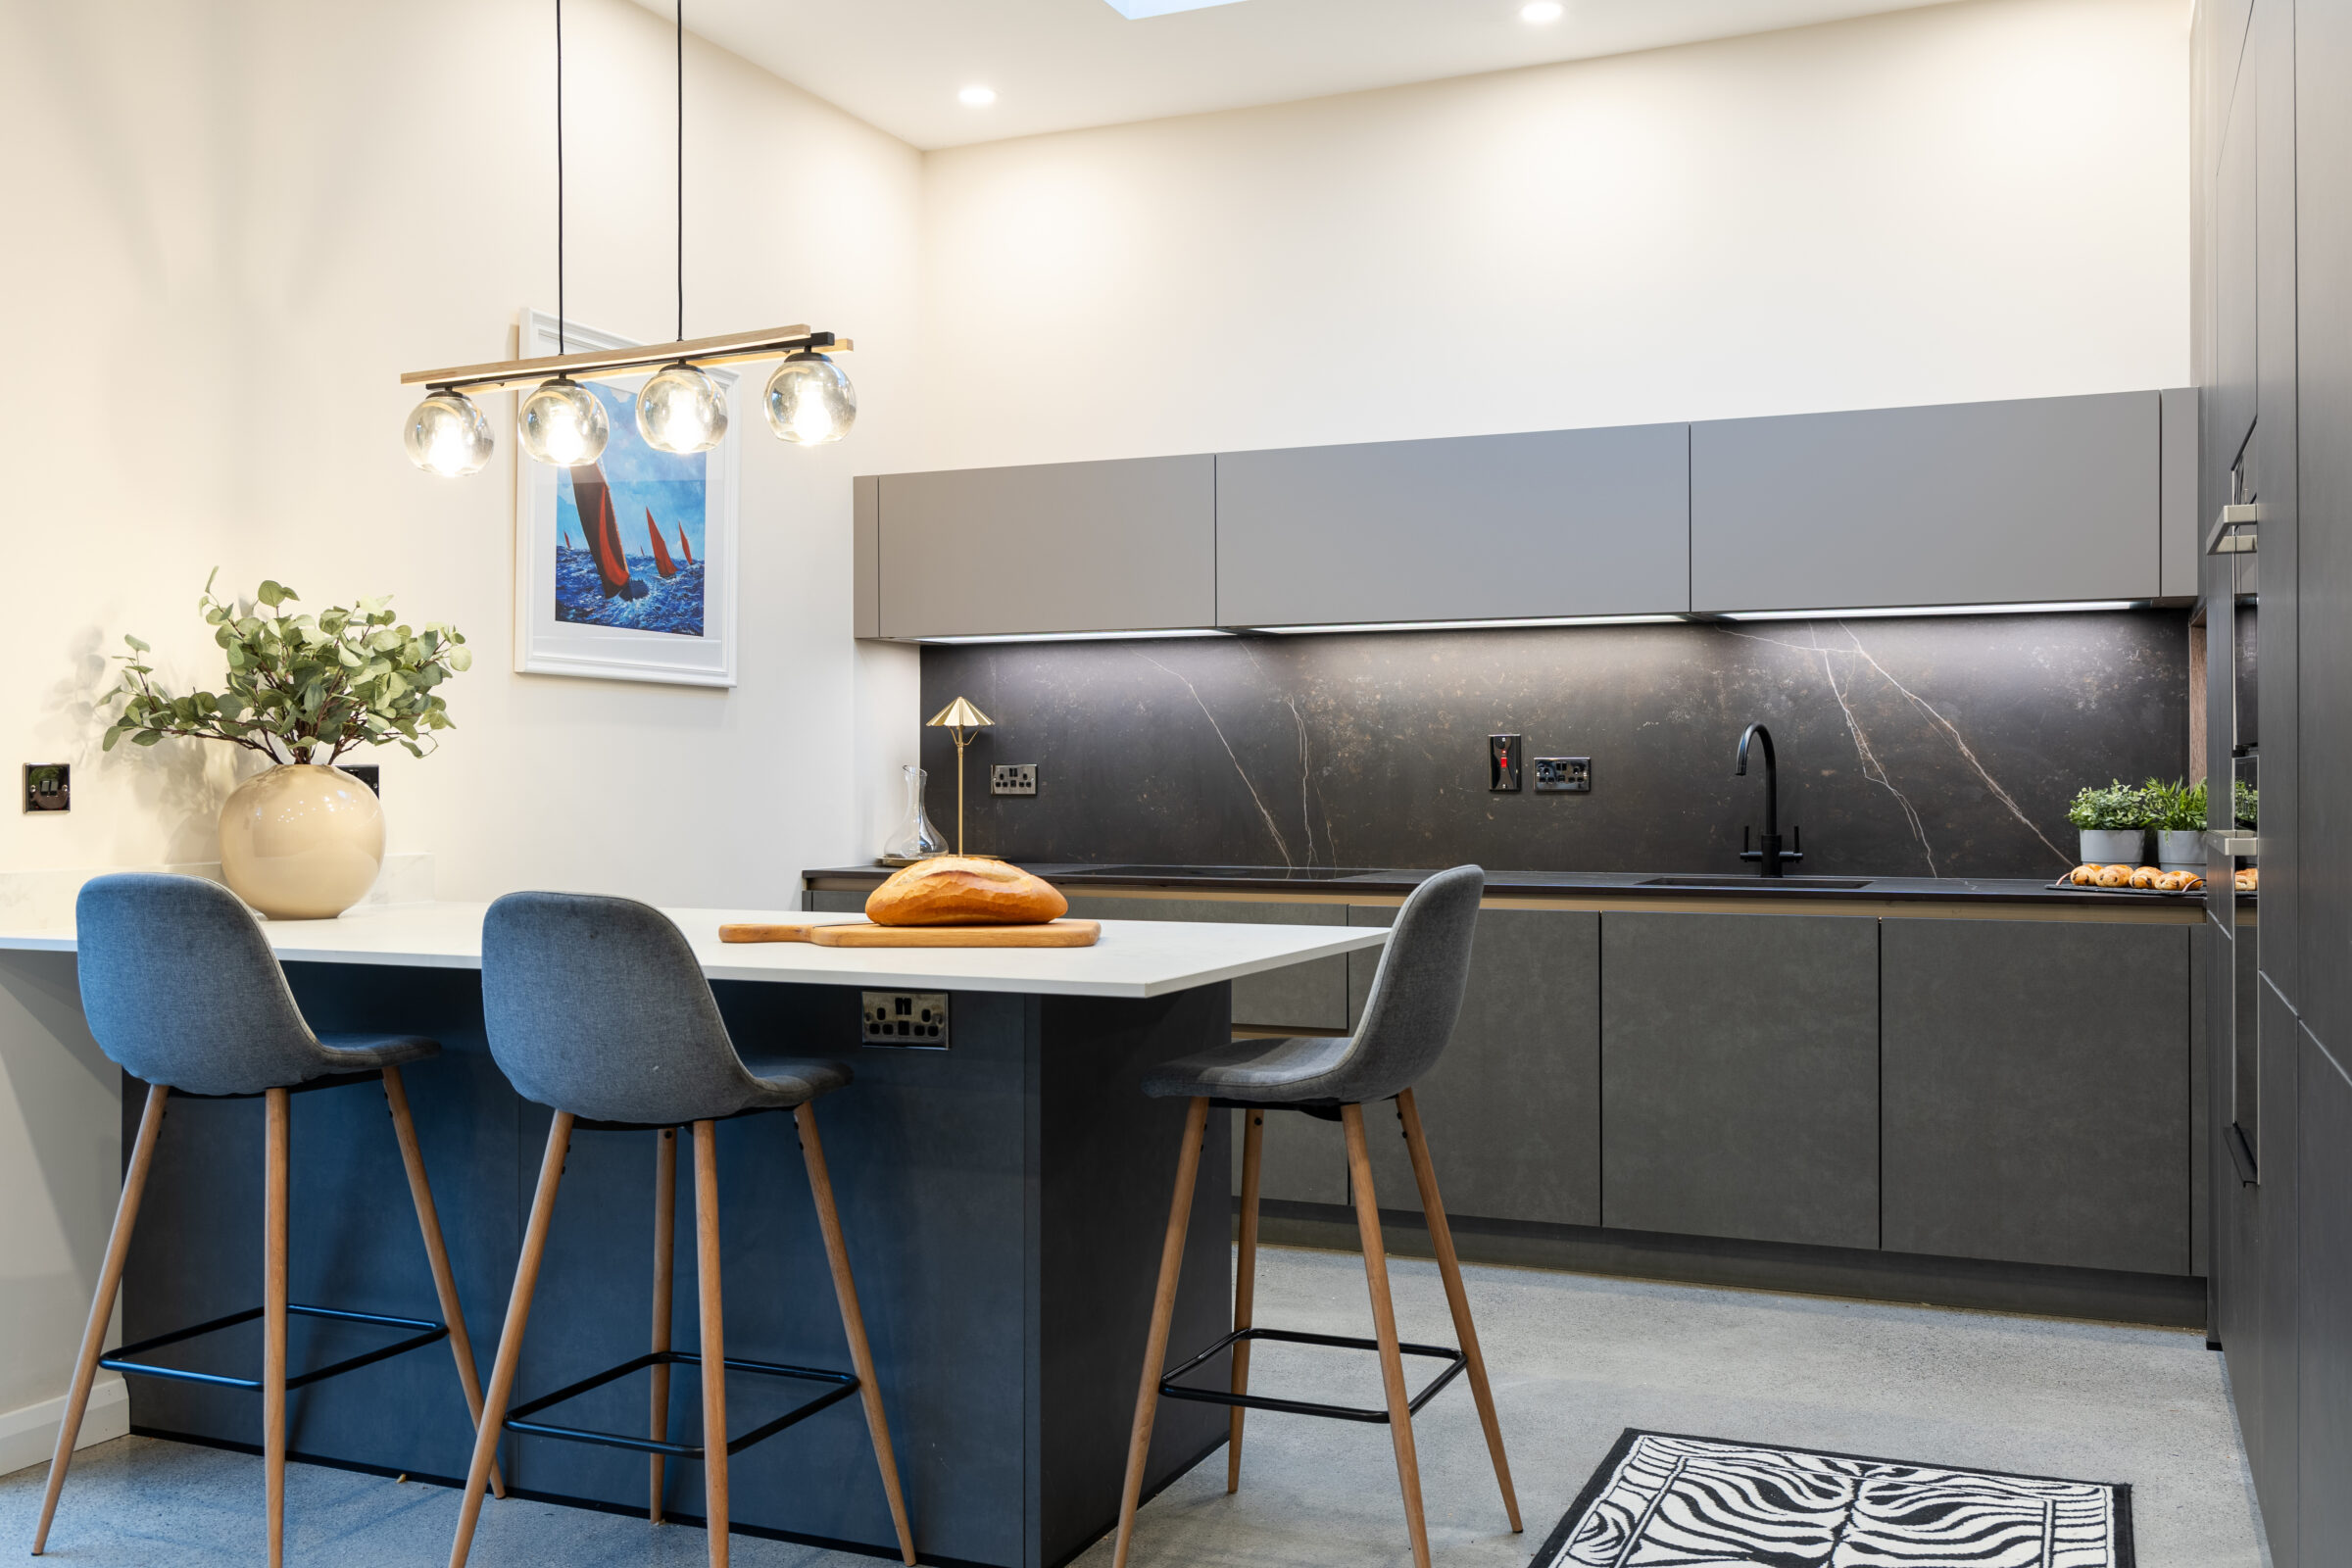
In a 3 x 4 m U-shaped kitchen, six downlights might provide ambient light, under-cabinet strips cover all three worktop runs and a lit display cabinet adds accent. In an open-plan room, island pendants act as task lighting by day and a focal point by night.
Decorative lighting, such as chandeliers and sculptural pendants, sits across ambient and accent, so treat it as part of the scheme. Plan every layer at the layout stage, not at the end.
Lighting works best when it follows the way you actually use the room. Sketch your floor plan, including the island, sink, hob, fridge and table, and mark zones for cooking, prep, washing up, seating and dining.
Start with ambient lighting: an even wash without dark corners, typically a grid offset slightly in front of the cabinets.
Then add task lighting along worktops, over the island and above the hob and sink. If you are still weighing up whether an island is right for your home, or how much floor space an island needs, including
whether you can fit an island in a small kitchen, settle that first, as it shapes the ceiling plan.
Finally, position accent lighting in alcoves, cupboards, plinths or beside open shelving.
In open-plan spaces, treat kitchen and dining as separate zones with consistent colour temperature but independent dimming. Finalise wiring and switching before plastering or fitting cabinetry.
Ambient lighting is the overall glow that stops you cooking in a cave. It usually comes from recessed downlights, ceiling pendants or a combination of both.
For recessed lighting, a common starting point is to space fittings roughly 1.2–1.5 m apart in a kitchen with a 2.4–2.7 m ceiling. Avoid a rigid grid directly above cabinet doors and position fittings slightly forward of wall units so light washes down onto the worktops. Our guide on how many downlights your kitchen needs covers the numbers in more detail.
With concrete ceilings or period homes, well-scaled flush or semi-flush fittings plus wall sconces spread light evenly.
Choose warm to soft white light of around 2700K–3000K to keep the kitchen inviting; above 3500K, a home kitchen starts to feel like an office. Dimmable bulbs suit open-plan spaces, letting you turn brightness up for cleaning and down for evening meals, and remember that dark cabinets and matt worktops absorb light, needing more output than pale kitchens.
Task lighting delivers safe, clear visibility and eliminates the shadows your own body casts on the worktop.
Under-cabinet lighting is the single most important task light in most kitchens. Slim, dot-free LED strips mounted towards the front of the cabinet give continuous light without hotspots. Knowing where under-cabinet lighting should go makes a noticeable difference to the finished result.
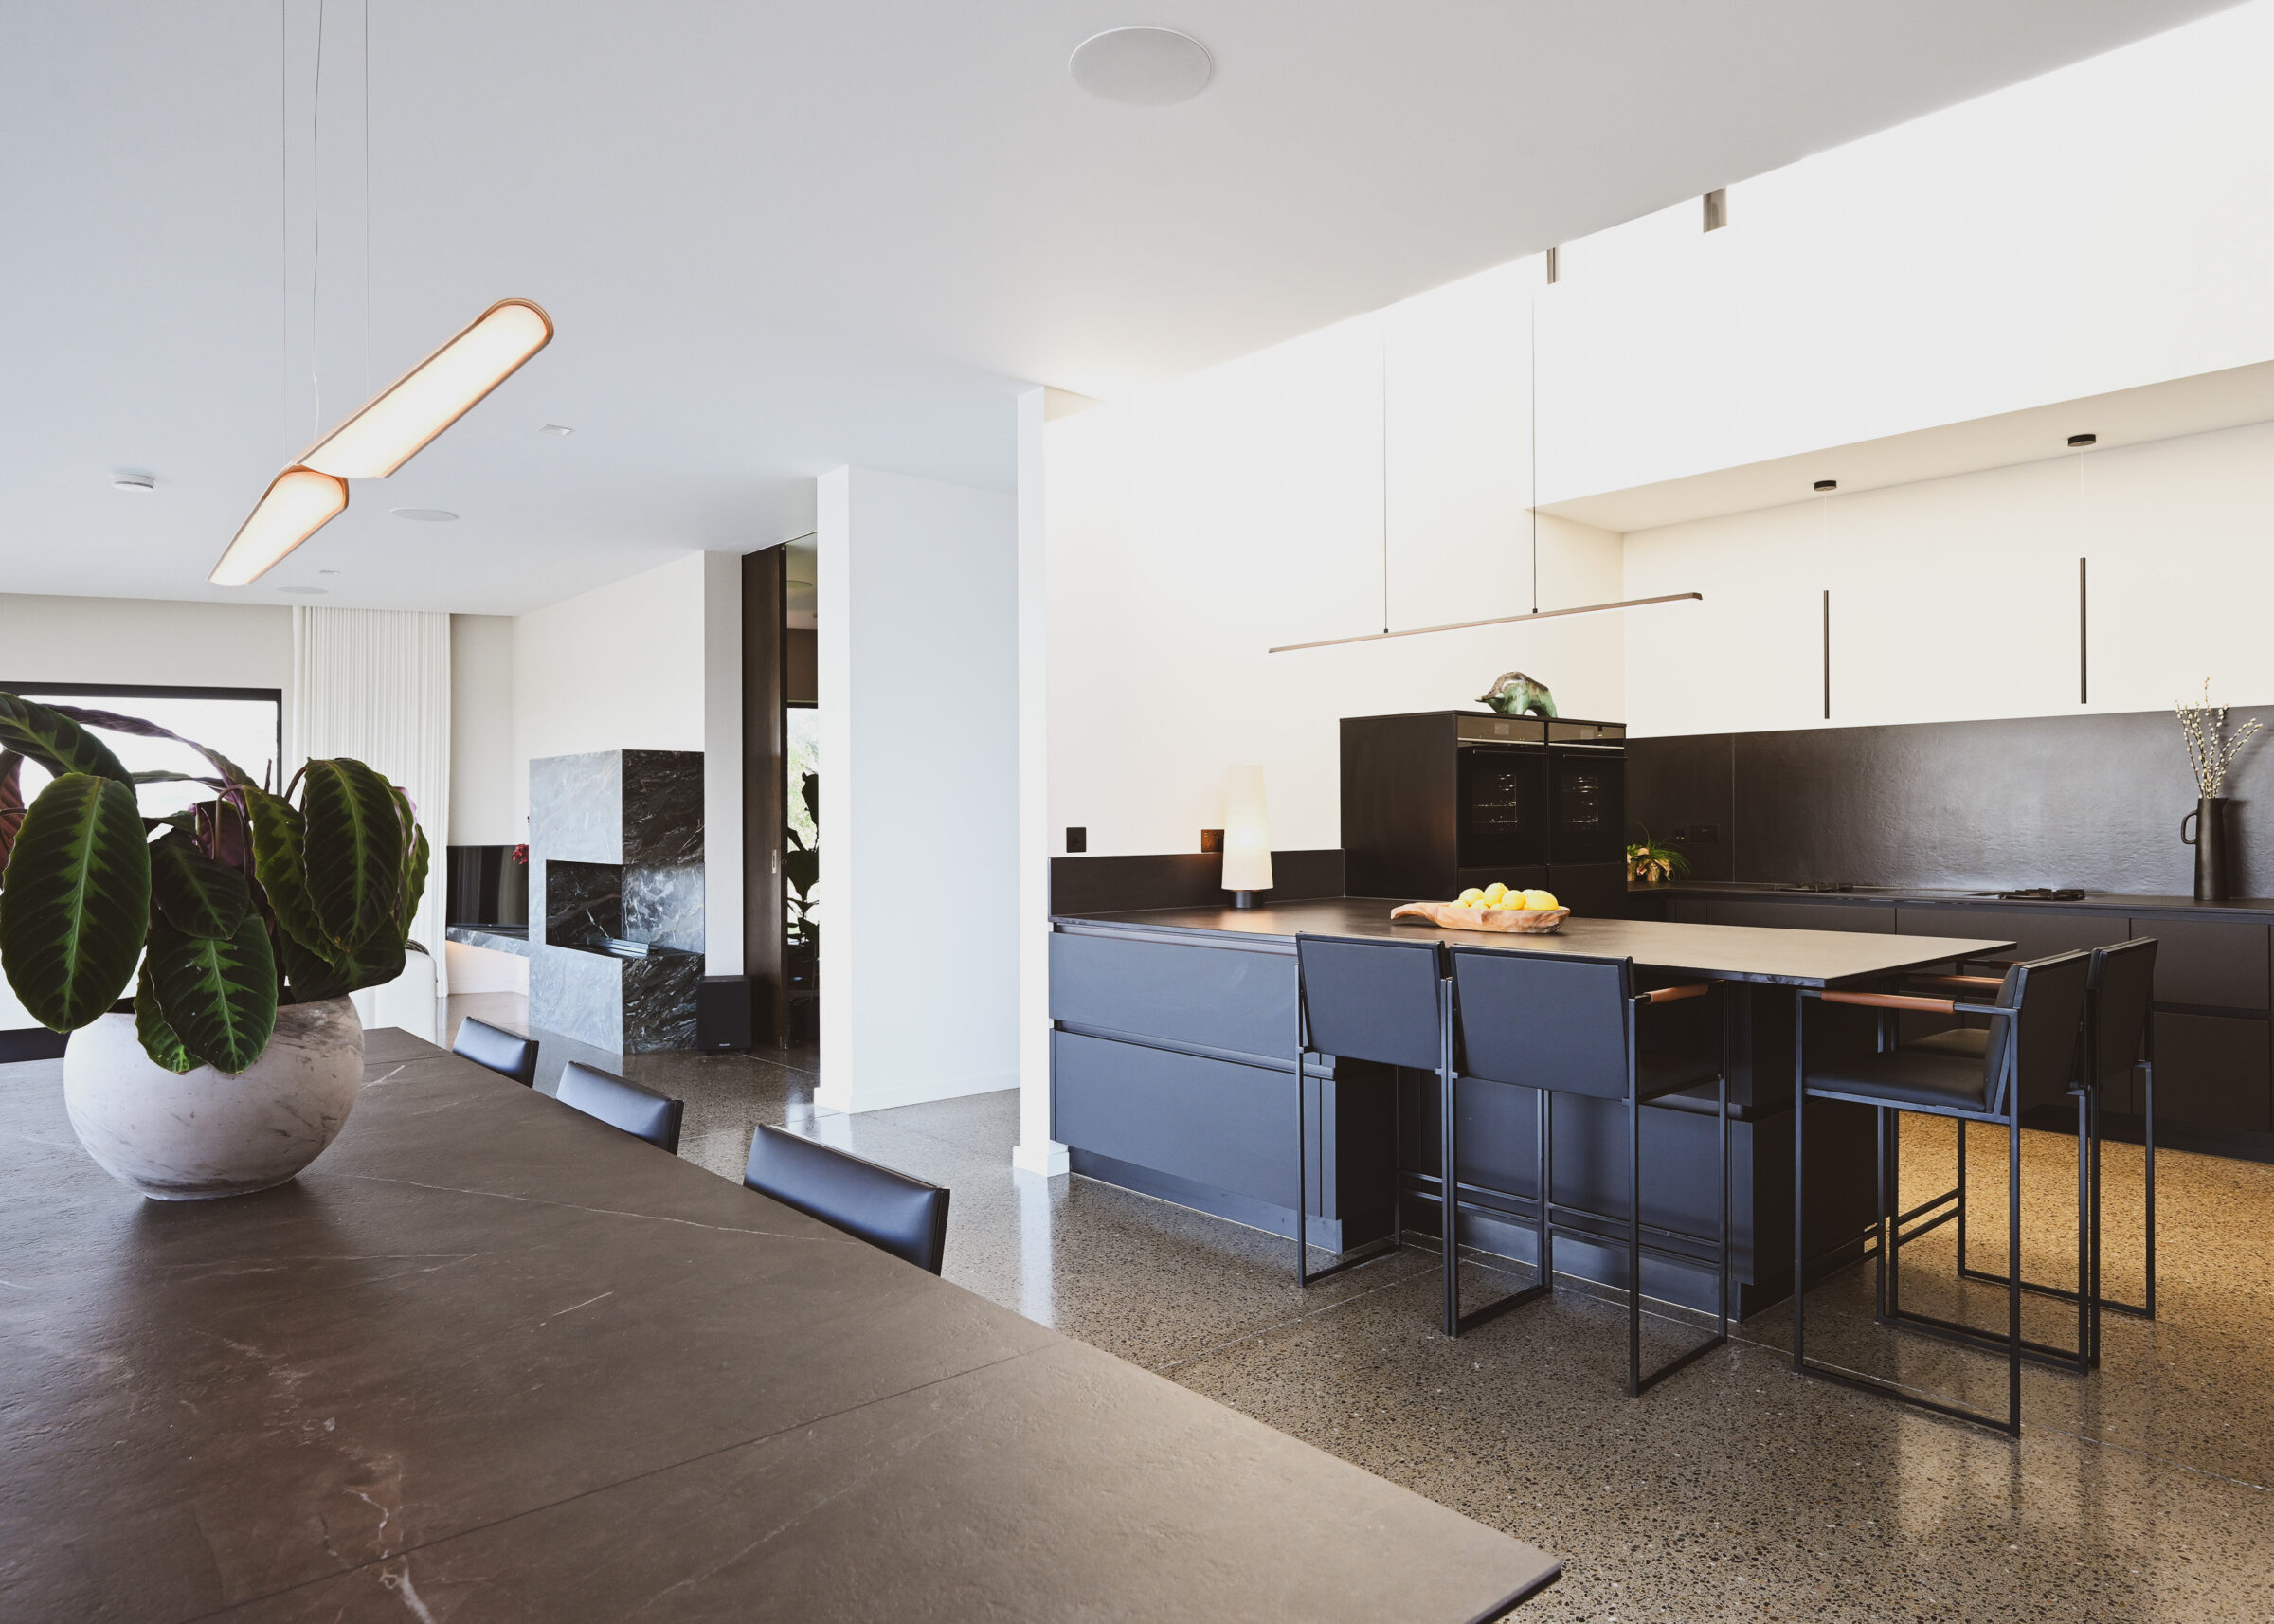
In good kitchen design, pendants over an island or peninsula are sized and spaced to suit the surface, typically hung 70–85 cm above it, so they serve as both task and ambient lighting without blocking sightlines. The right drop also depends on the standard height of a kitchen island, and our guide to the best lighting for a kitchen island explores fittings and spacing in depth.
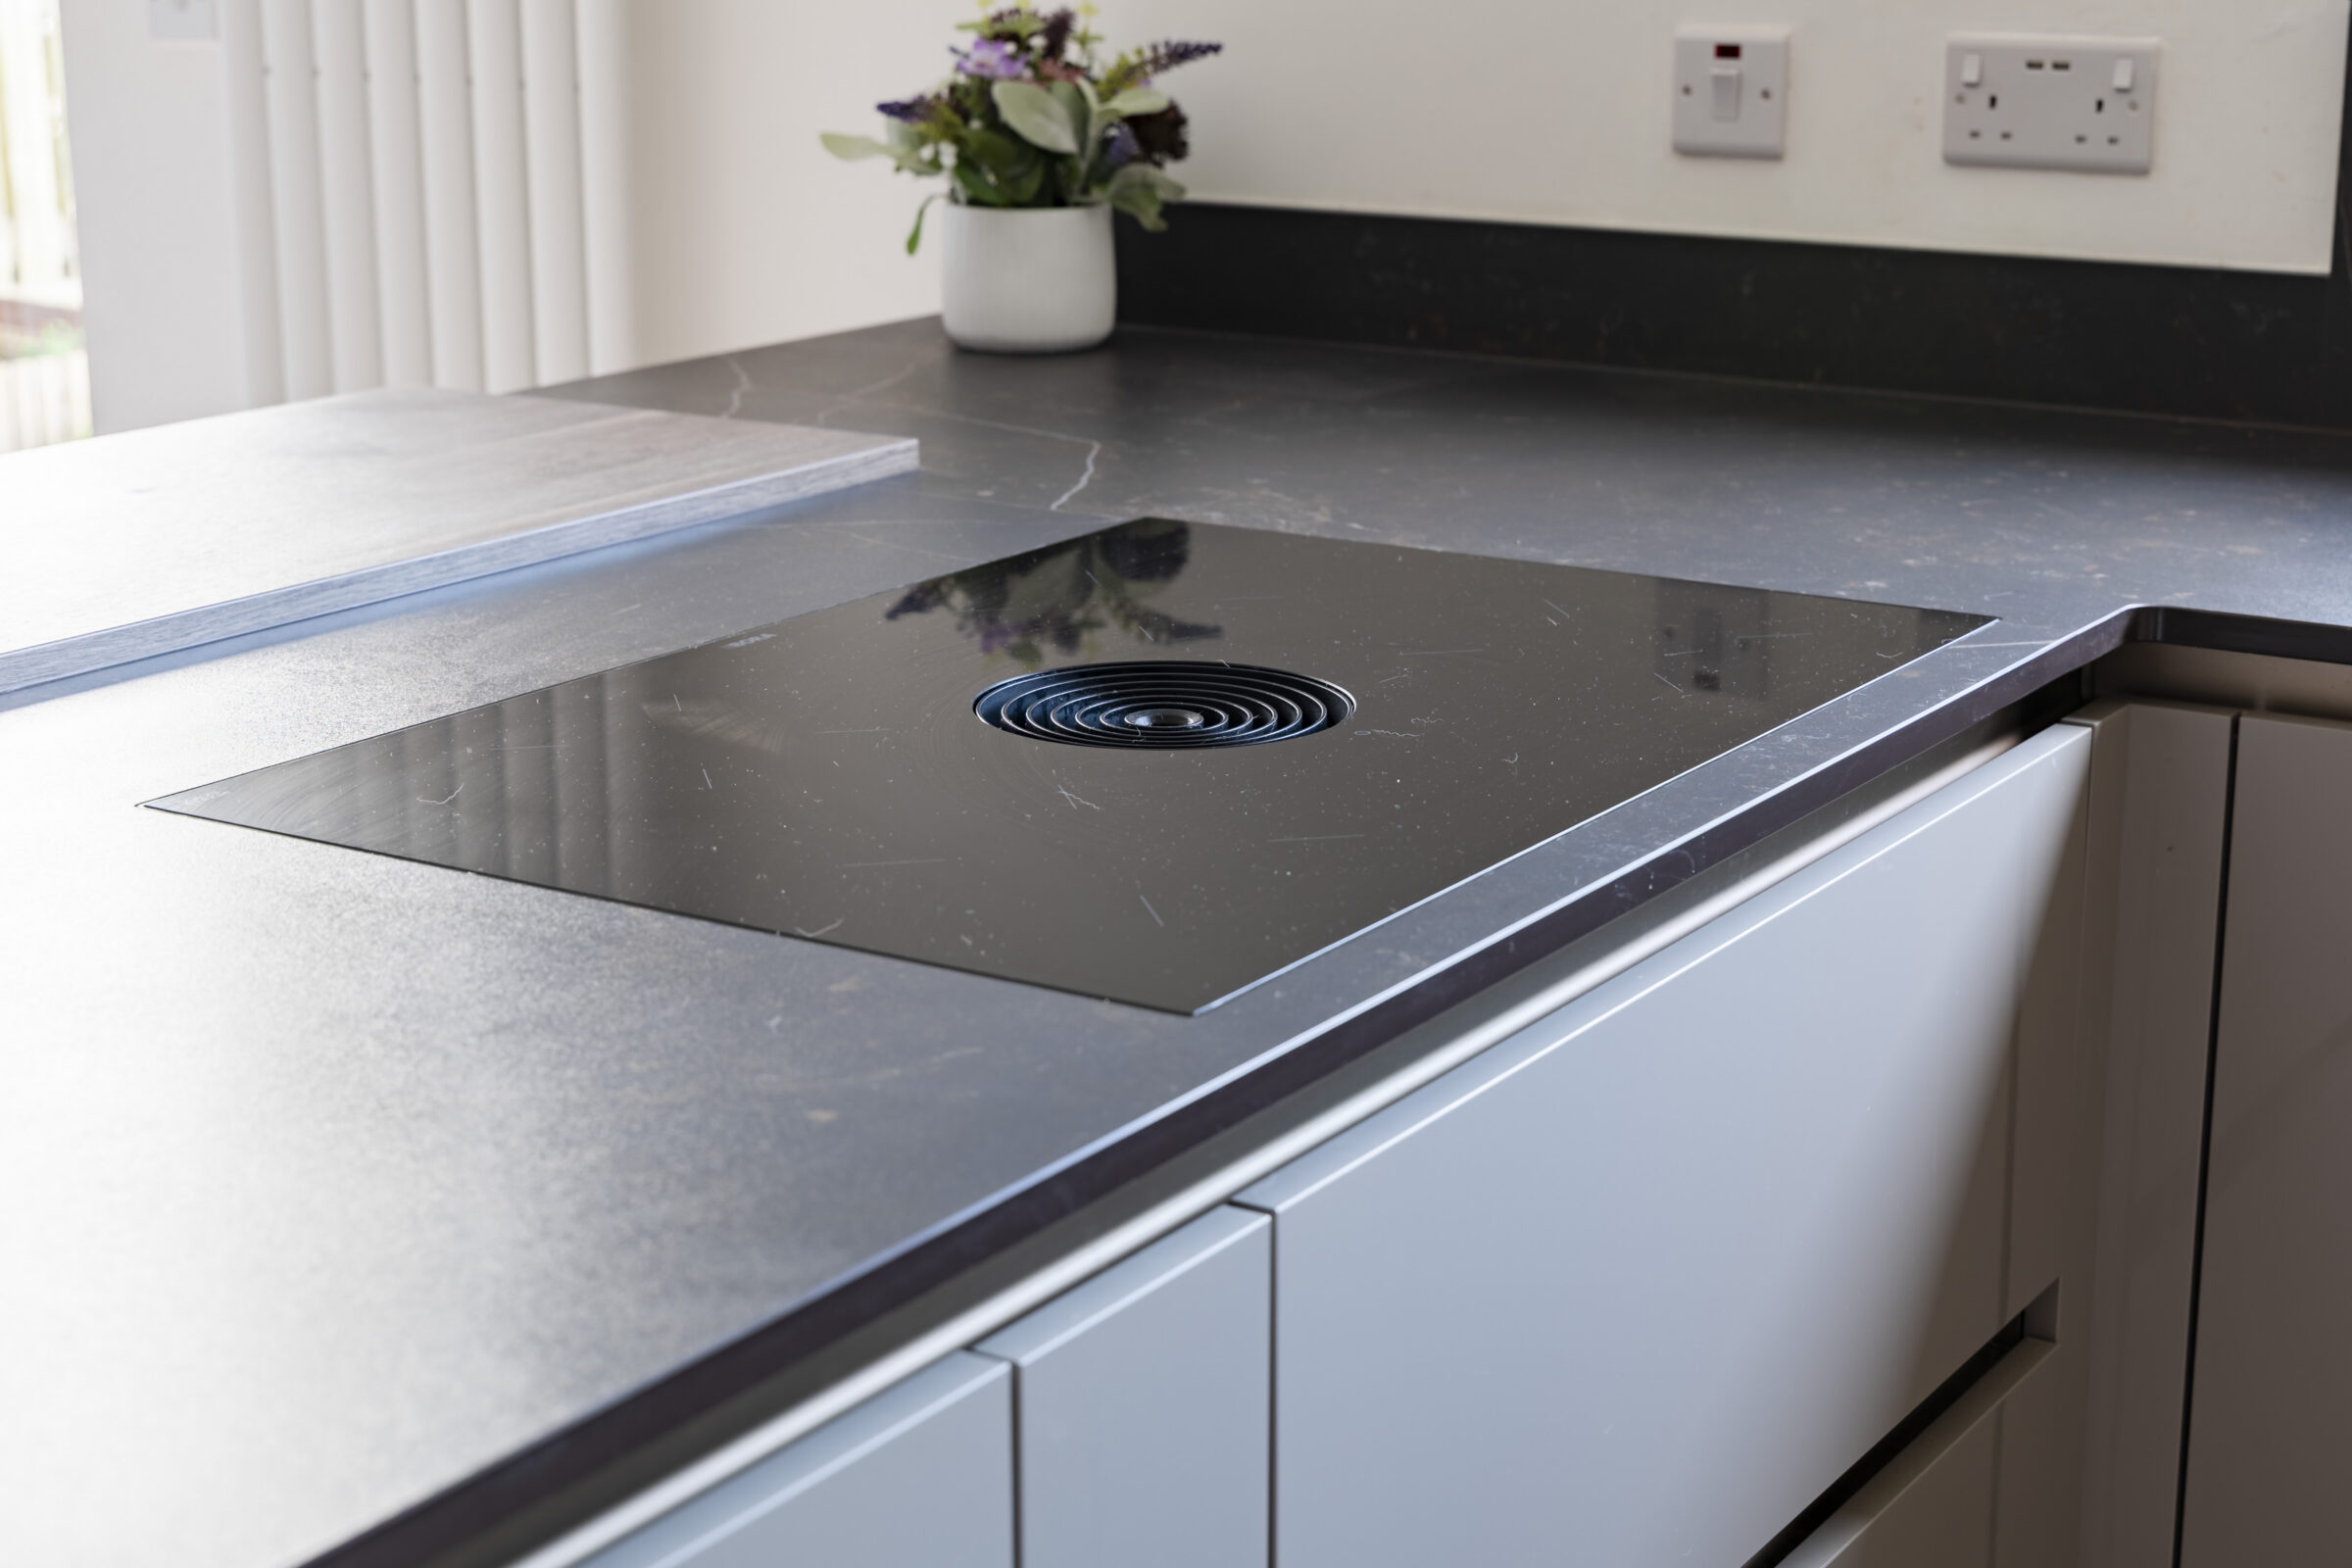
In a well-planned kitchen, the sink, hob and coffee station also get dedicated fittings, often including the extractor’s own lights. Keep task lighting at around 3000K to match the ambient layer, and use dimmable pendants so they double as evening light.
Accent lighting brings depth, drama and a more designed look, while decorative lighting expresses personality. Both help the room feel like a living space rather than a purely practical one.
Shelf strips highlight ceramics, glass-fronted cabinets glow softly, picture lights lift artwork and toe-kick lighting gives cabinetry a floating effect at night. Accent lights should be softer than task lighting but more focused than ambient, drawing the eye without glaring into the room.
Decorative fixtures, such as sculptural pendants, a chandelier over the island or dining table and characterful wall sconces, often double as accent lighting. Their finish should complement the island itself, so it helps to decide early whether your island will match the cabinets. Statement fittings also add to what a kitchen island costs, so budget for them early.
In an adjoining dining room, echo finishes such as brass or black metal to tie the spaces together. Show restraint: a few well-chosen pieces beat many competing focal points. Visiting our Dublin showroom is an easy way to see layered lighting working in real kitchens.
Even the best fixtures disappoint with the wrong bulbs.
Colour temperature is measured in Kelvin. Staying between 2700K (warm white) and 3000K (soft white) keeps surfaces and food looking natural, whereas mixing in 3500K–4000K bulbs makes worktops look patchy. If you are unsure whether your kitchen lighting should be warm or cool, warm to soft white is the safer choice for a home.
Judge brightness in lumens, not watts, and spread moderate output across several fittings rather than relying on a few powerful sources that cause glare and hard shadows. Pair dimmable bulbs with compatible dimmers for bright prep light and softer entertaining levels.
Put ambient, under-cabinet, pendant and accent lighting on separate circuits, and use scene-setting switches to move from cooking mode to dining mode at one press.
Most lighting problems are easy to prevent at the planning stage. For a fuller list, see our guide to
common kitchen lighting mistakes.
Relying on a single ceiling light. One central fitting creates pools of brightness and dark corners. Add layered ambient, task and accent lighting instead.
Too many harsh cool-white spotlights. Rows of 4000K downlights can make a home kitchen feel like a hospital corridor. Switch to warmer bulbs and reduce the number of fittings.
Poorly placed downlights. Fittings above the back of the worktop, or behind where you stand, cast shadows over your work. Move them slightly forward and add under-cabinet lighting.
Forgetting the dining or seating area.Open-plan zones need their own pendants, wall lights or a discreet floor lamp for a layered, cosy feel.
Planning too late. Leaving lighting until after the cabinetry is fitted means missing integrated LEDs, toe-kicks and separate circuits. Raise lighting at your design consultation so wiring is planned from day one.
There is no fixed number, but in a standard 3 x 4 m kitchen with 2.4–2.7 m ceilings, many designers start with six to eight evenly spaced downlights, then adjust for cabinet layout, daylight and task lighting.
No, but they should feel related through similar finishes, colour temperature and dimming. Keep the kitchen brighter and let the dining area lean on softer accent lighting.
Not in prep zones, but a slim, dimmable floor lamp suits an open-plan seating nook.
Dimmers suit ambient and decorative layers; dimmable task lights must still be bright enough at full output.
Not usually. Following these principles works well; just share a marked-up plan with your electrician or designer early.